Mastering Zoho Expense: A Step-by-Step Guide to Streamlining Your Expense Management
Expense management can be a time-consuming task, but with Zoho Expense, you can simplify and automate the process. If you missed our recent webinar, don’t worry! Here’s a comprehensive tutorial that walks you through the key features we demonstrated:
1. Setting Up Your Organization Account and General Settings
Before diving into expense management, you need to set up your Zoho Expense account. Setting up your organization account ensures that all expense data is linked to your company. This provides a centralized platform for managing and analyzing expenses. Here’s how you do it:
- Sign In to Zoho Expense
- Go to Zoho Expense and log in with your Zoho account credentials.
- Set Up Your Organization
- Navigate to Settings > Company Details.
- Add your organization’s name, logo, address, currency, and other basic information.
- Configure General Settings
- Go to Settings > Organization.
- Enable features such as expense auto-scan, multi-currency expenses, and reimbursement settings.

2. How to Create and Add Expense Reports (Including Adding Receipts and Auto-Scan)
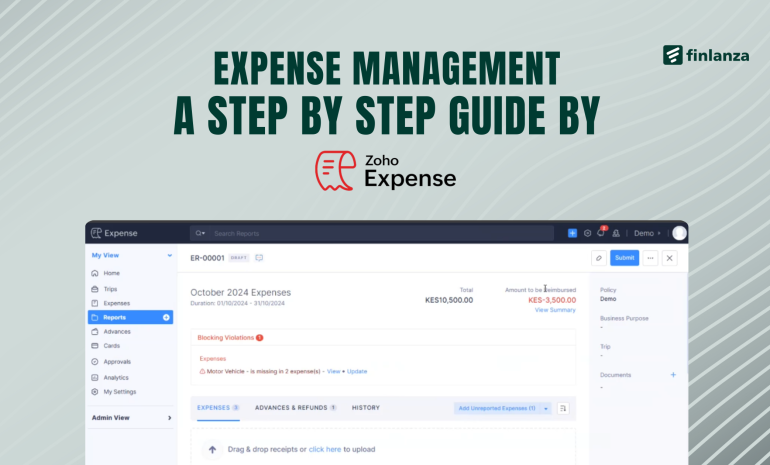
Expense reports consolidate individual expenses into a single, organized document, making it easier for management to review and approve. Tracking expenses is simple with reports in Zoho Expense.They provide a clear picture of spending patterns. Here’s how to do it:
- Create an Expense Report
- Go to Expense Reports and click + New Report.
- Name your report (e.g., “August Business Travel”) and save it.
- Add Expenses
- Click + New Expense and select the expense category (e.g., Meals, Travel, etc.).
- Fill in details such as date, amount, and description.
- Attach Receipts
- Upload receipts manually or use the Auto-Scan feature.
- Auto-Scan extracts key details (date, amount, vendor) and populates the expense automatically.

3. How to Create and Add Advances
Advances allow employees to access funds for business-related expenses without using personal money upfront. They reduce the risk of out-of-pocket expenses and streamline the processes of reimbursements. Advances help simplify expense tracking for your employees. Here’s how to manage them:
- Allocate an Advance
- Go to Advances and click + New Advance.
- Enter the employee’s name, advance amount, and purpose (e.g., “Conference Travel”).
- Track Advances
- Employees can use the advance to record expenses, ensuring accountability.
- Settle Advances
- Once the expenses are submitted, the remaining advance (if any) is calculated, and settlements are initiated.

4. Tracking Business Trips
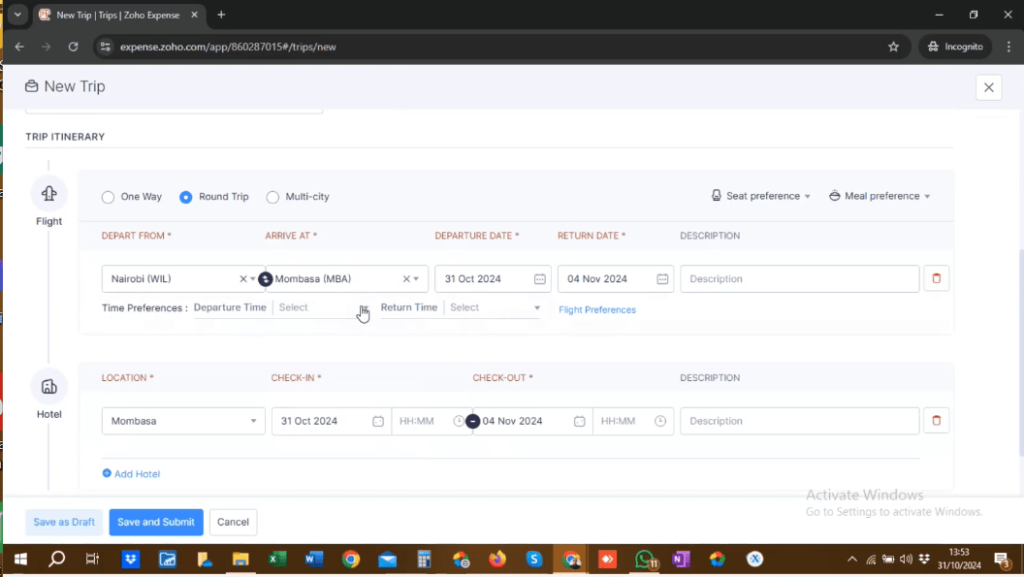
Organizing trips on Zoho expense will ensure that travel details, itineraries, and related expenses are in one place, which provides clarity on spending during business travel. Zoho Expense makes organizing business trips seamless.Here is how to do it:
- Create a Trip
- Navigate to Trips and click + New Trip.
- Enter details such as trip name, destination, start and end dates, and purpose.
- Add Travel and Lodging Details
- Include flights, accommodation, and other arrangements directly under the trip.
- Link Expenses
- As employees incur expenses, they can link them to the trip for consolidated tracking.

5. Managing Approvals for Expense Reports, Advances, and Trips
Approval workflows create a layer of oversight, ensuring that only valid expenses are reimbursed. On Zoho expense, managers can flag and reject expenses that violate company policies. Approvals ensure accountability and compliance. Here’s how to handle them:
- Set Up Approval Workflows
- Go to Settings > Automation > Approvals
- Define multi-level approvals for expense reports, advances, and trips.
- Submit for Approval
- Employees submit expenses, reports, advances, or trips for approval directly from their dashboard.
- Approve or Reject
- Managers and admins receive notifications and can approve or reject submissions with comments, while the people who submitted will see pending until the expense is approved.

Zoho Expense will help you automate expense tracking with receipt scanning and report creation, save you time with mobile tracking and real-time approvals, and help you ensure compliance with custom policies and workflows. Don’t leave your expense management process to chance. Trust Zoho expense today and take charge of your expenses and ultimately finance.
Call +254 704254142 or email jecinta@finlanza.com to get started.


