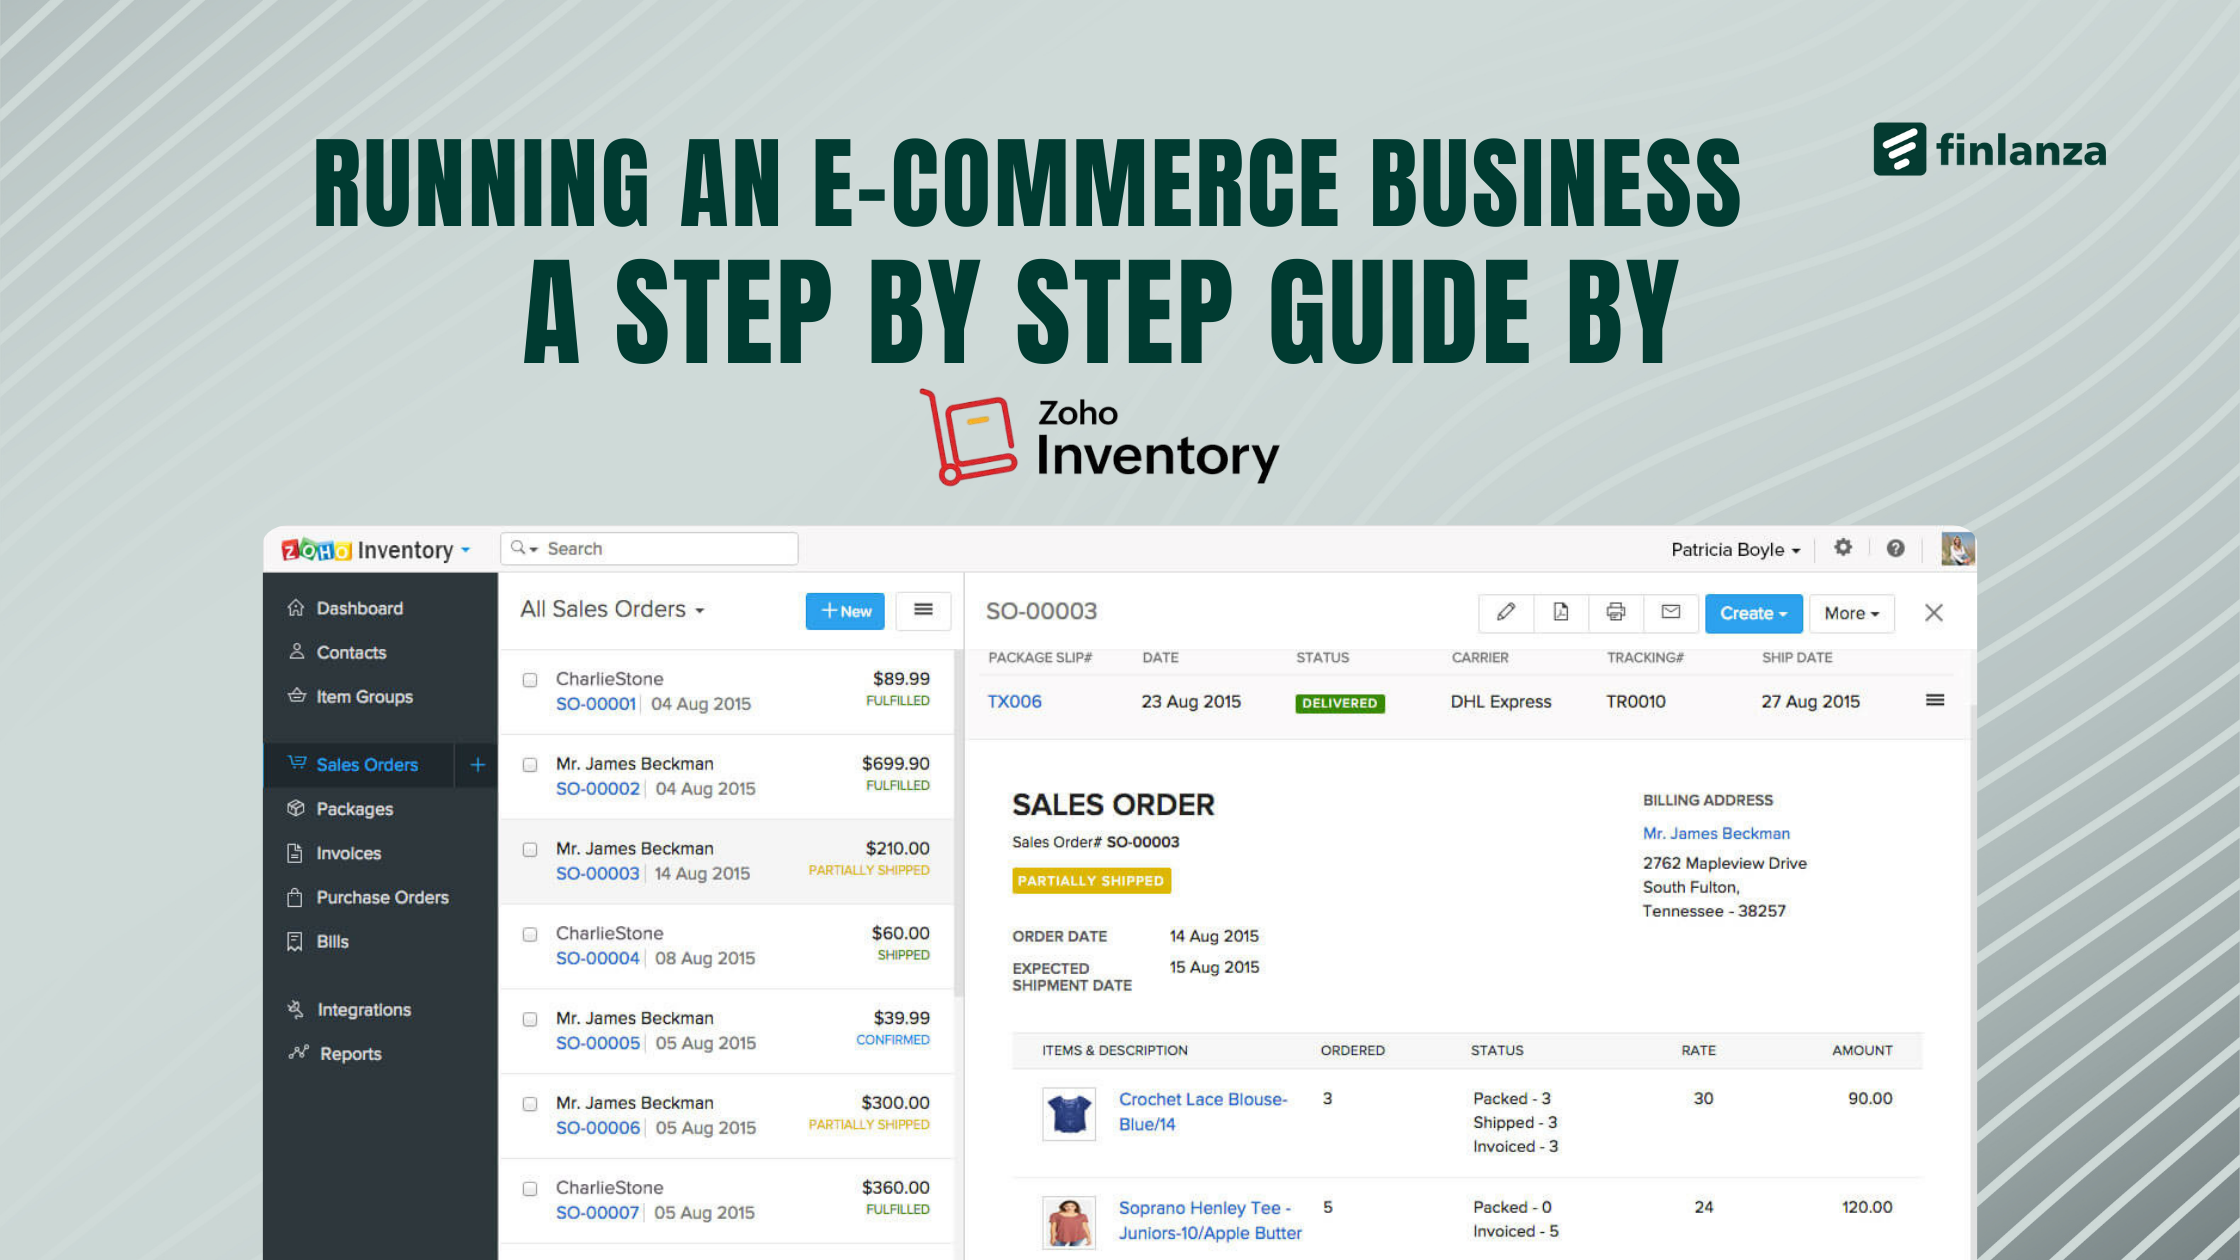
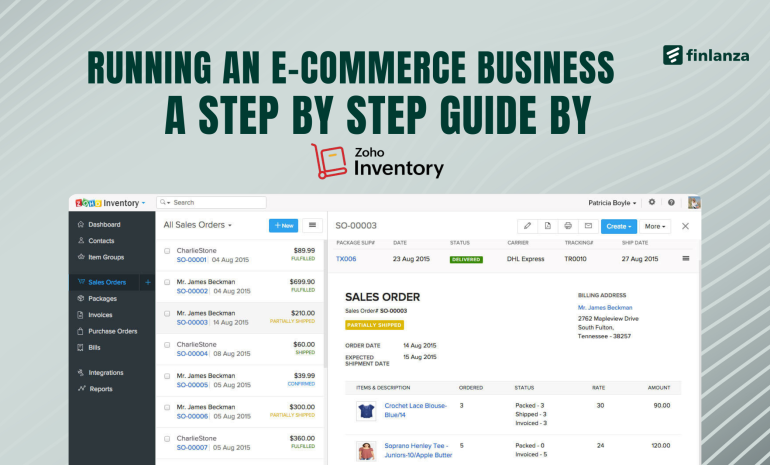
Running an online business involves juggling multiple processes including managing inventory, fulfilling orders, ensuring timely delivery, and tracking payments. Which tool do you use to streamline this operation? Zoho Inventory is a great tool for e-commerce companies because it provides a complete solution for optimizing these processes. We’ll go over how to utilize Zoho Inventory in this article to run your company, make sure that consumers receive their orders, and easily get paid.
Why Zoho Inventory?
- Built on solid inventory fundamentals, Zoho inventory allows you to stay on top of your stock flow across multiple channels, contacts, currencies, and locations
- Built for online sellers, drop shippers, retailers, and distributors that deal with products daily
- Built for collaboration: Access Zoho inventory from any device with an internet connection
- Built for all sizes, be it small, micro, or medium businesses
- Built for both techies and non-techies
Benefits of using Zoho Inventory for your online business
- Integrates with e-commerce platforms like Shopify, WooCommerce, and Etsy.
- Tracks inventory levels in real-time.
- Automates order processing and shipping.
- Ensures payments are collected securely through integrated payment gateways.
Creating a sales order
A sales order is a preliminary financial document denoting an impending sale. It includes the exact quantity, price, and delivery details of the product or services sold. A sales order helps one commit stock for sale progress and prevents the next seller from overselling your products. It is the first step in order fulfillment. Goods on confirmed orders can be packed and shipped to customers.
Here are the steps to ensure a smooth sale:
Step 1: Integrate Your Online Store with Zoho Inventory
The first step is to connect your platform to Zoho Inventory. Zoho supports integrations with popular platforms such as Shopify, WooCommerce, and Etsy, making it easy to sync orders, inventory, and customer data.
To integrate your store:
- In Zoho Inventory go to Settings > Integrations > E-commerce.
- Select your platform and follow the on-screen instructions to connect it.
After integration, your orders from the store will automatically appear in Zoho Inventory, saving time and reducing errors.
Step 2: Create a Sales Order
Once a customer places an order you can create a sales order
- Go to the Sales Orders tab and click on + Icon.
- Add the customer’s details, such as name, email, tax preferences, currencies, sales order number and shipping address
- Include the purchased items, specifying the quantity, price, and any applicable discounts.
- Save as draft or save and send to send to your customer.
Step 3: Convert the Sales Order into an Invoice
To request payment, you’ll need to convert the sales order into an invoice. This process is simple in Zoho Inventory:
- Open the sales order and click Convert to Invoice.
- Verify the details, including payment options and due dates.
- Save and send the invoice to your customer.
- An email will be sent to customer with a link to complete to payment.
The invoice is essential for ensuring you receive payment for your goods or services.
Step 4: Package and Ship the Order
Once the invoice is ready, it’s time to prepare the package for shipment. Zoho Inventory allows you to create packages and integrates with major shipping carriers like FedEx, UPS, and DHL for a smooth shipping experience.
Steps to create a package:
- Go to the Packages module and click + New Package.
- Select the sales order and confirm the items to be shipped.
- Enter shipping details, such as the carrier and tracking number.
- Print shipping labels and packing slips directly from Zoho Inventory.
Zoho’s carrier integrations enable you to calculate shipping costs, print labels, and track deliveries—all within the platform.
Step 5: Ensure Payment Collection
Zoho Inventory makes it easy to collect payments by integrating with popular online payment gateways like PayPal, Stripe, and Razor pay.
To ensure payment:
- Go to Settings > Online Payments and connect your preferred payment gateway.
- Once connected, a Pay Now button will appear on your invoices, allowing customers to pay directly online.
- Send the invoice via email and include clear payment instructions.
You can also set up payment reminders to notify customers of upcoming or overdue payments. This automation helps reduce delays and ensures you maintain cash flow.
Step 6: Manage Returns and Refunds
Inevitably, some customers may return products or request refunds. Zoho Inventory supports return management to handle such situations smoothly to ensure your records stay accurate and transparent.
To manage returns create a credit note for the returned items.


